The bouncer – photos

OK, as promised in the last post – photos.

Bouncer materials


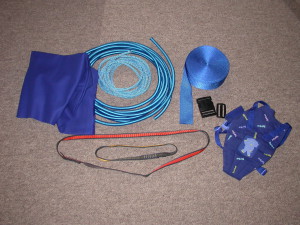
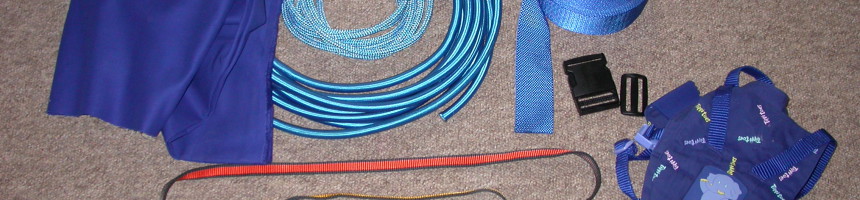
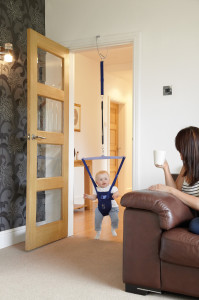
First, a quick pic of the materials so far. Lower right is actual baby bouncer I purchased – just the harness section is shown here. Moving clockwise we have the climbers webbing loops for fixing up to such bars as we have access to, a representative sample of the material for the harness, lying over the bungee cord – 12mm diameter. Inside that we have the lighter blue/speckled white rope – this stuff is amazing, it’s strong like steel wire. Next to them we have the webbing to complete the harness and the buckles I’ll be using to strap the little in. Missing from the picture is the massive bundle of wadding to pad the harness with. The carabiners are yet to be ordered but shouldn’t be too complex to source (except my links to ScrewFix in my earlier post are now broken so it’ll need some research again).

Bouncer - baby edition

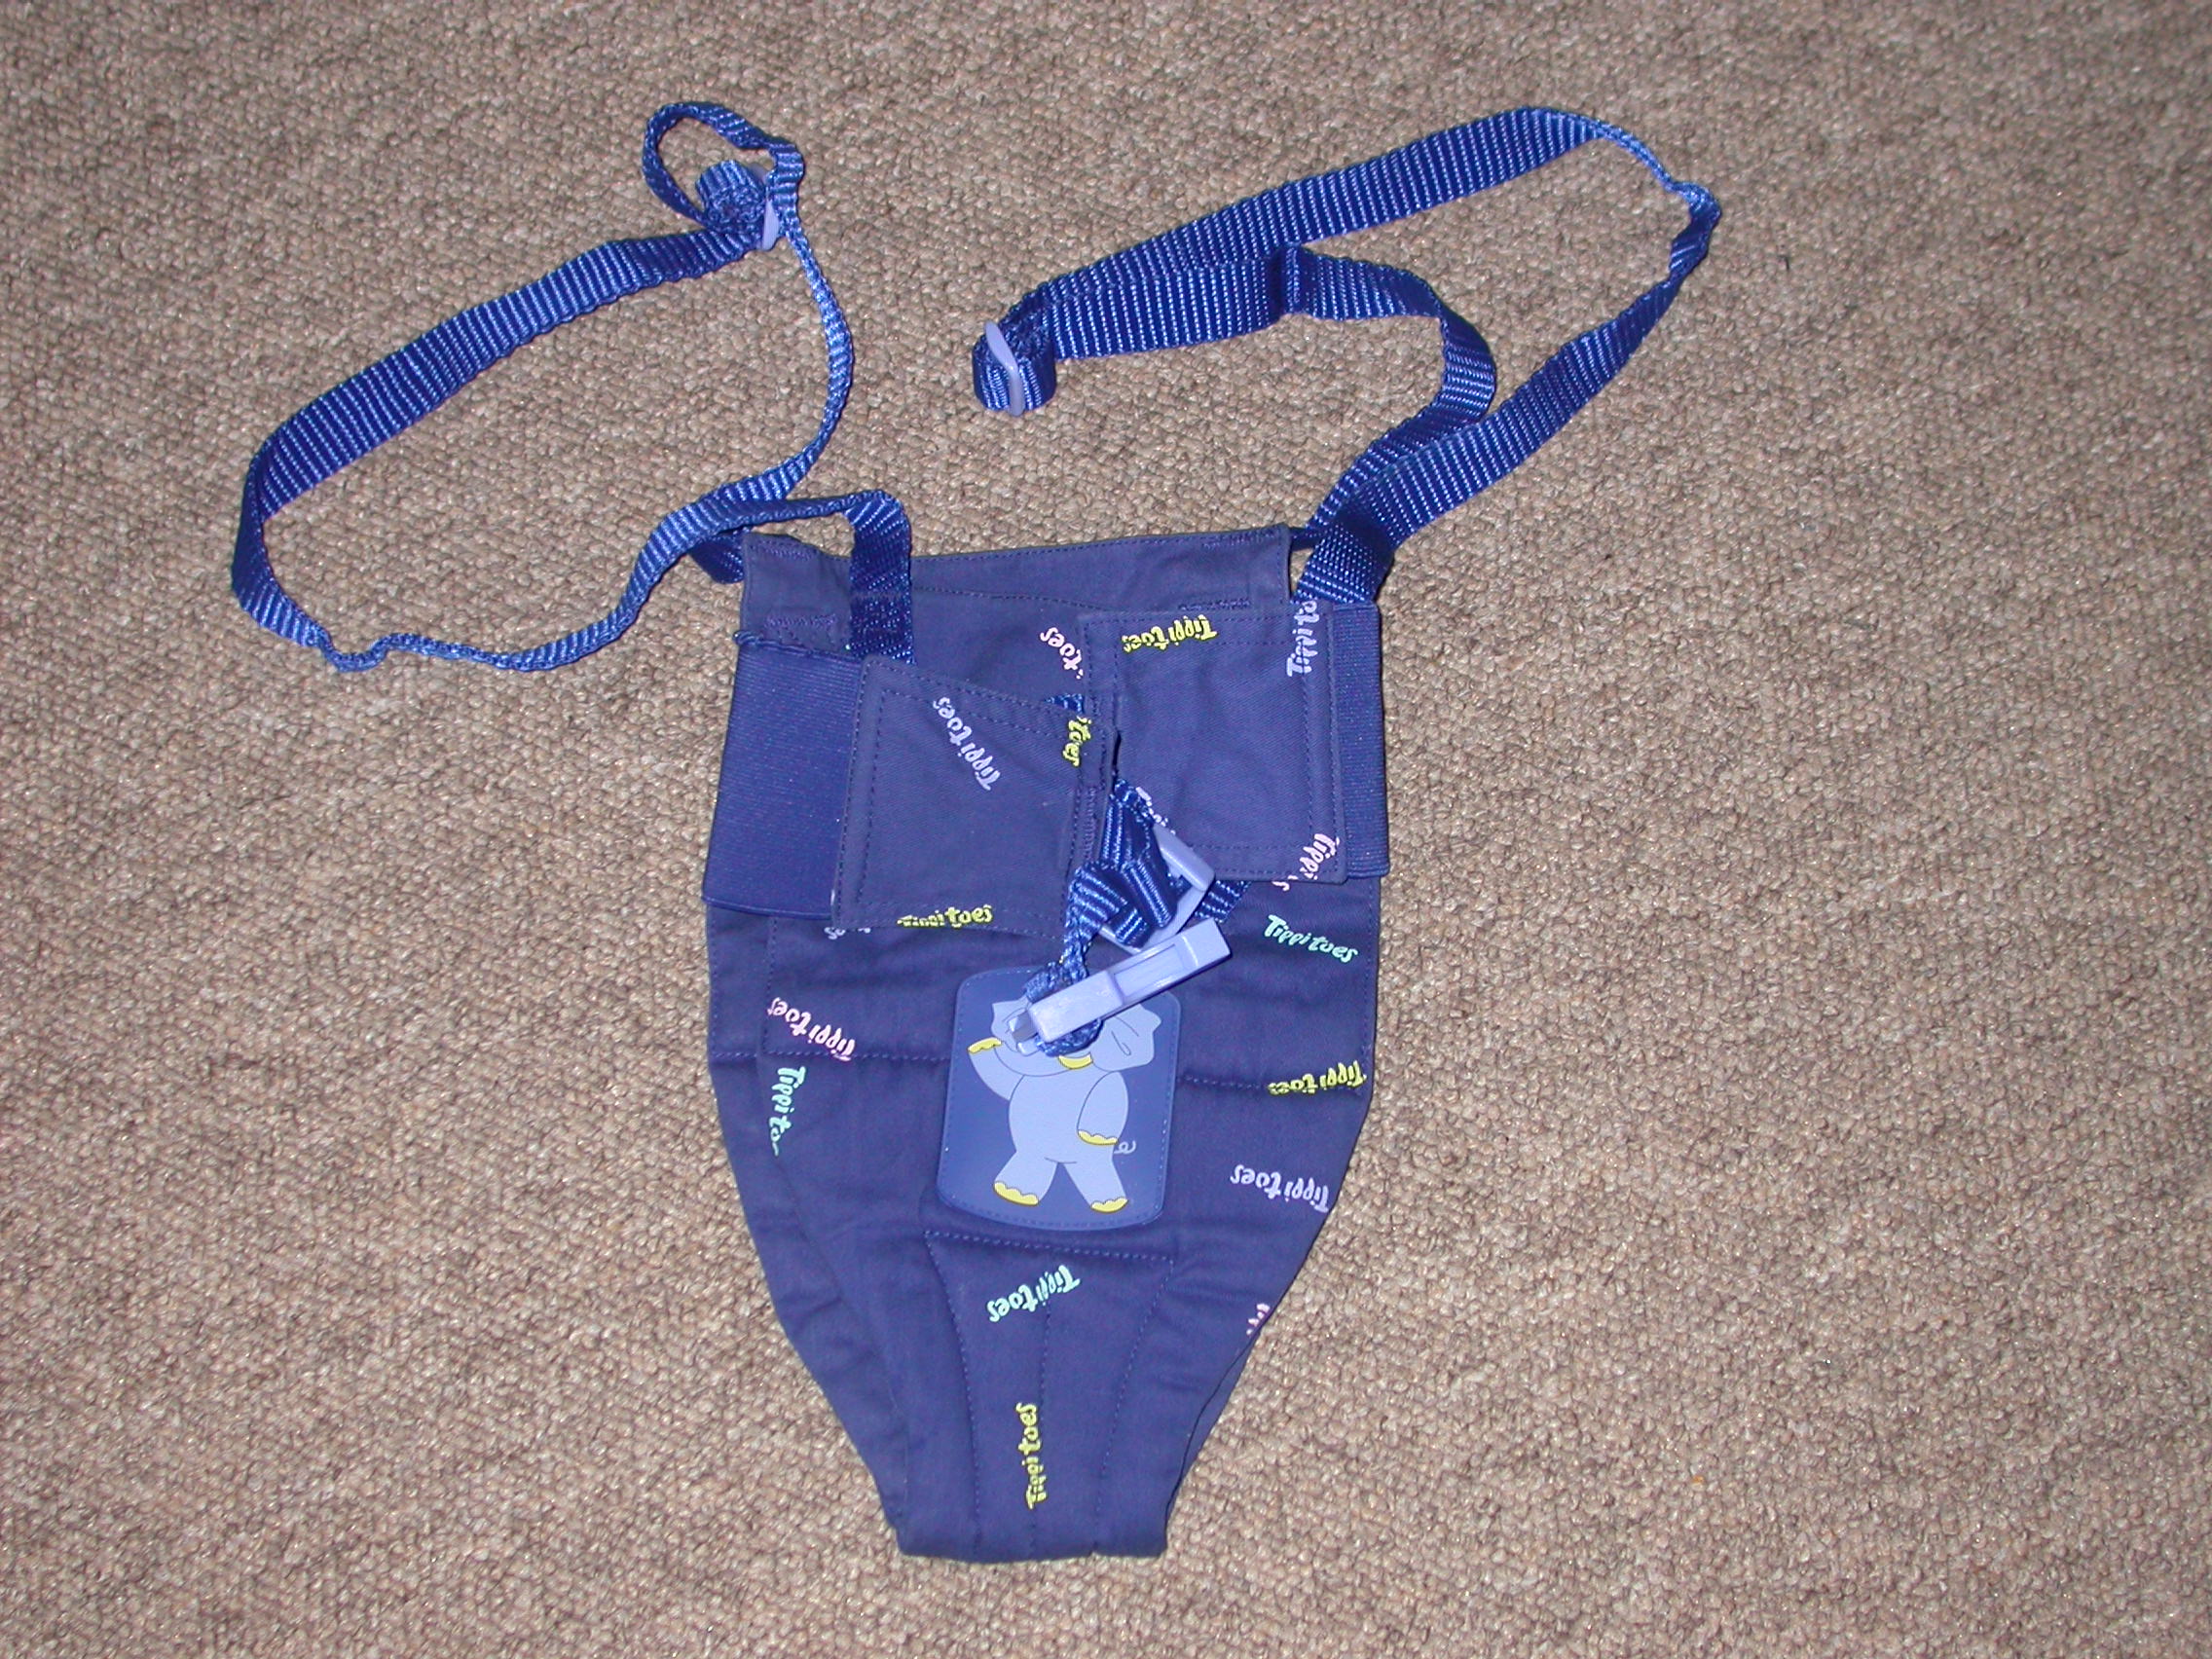
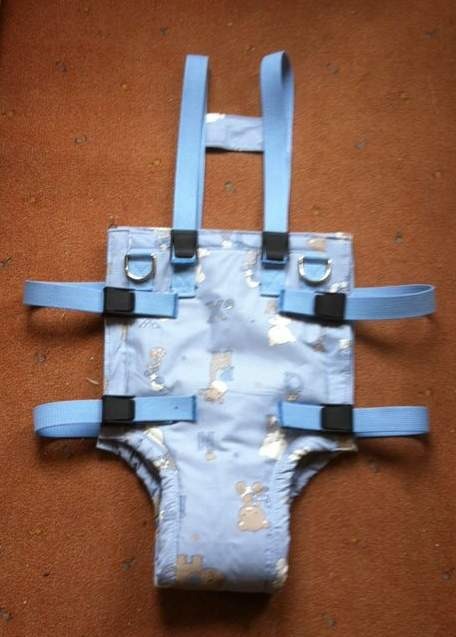
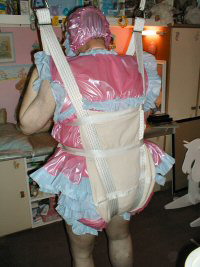
Here’s a close up of the baby sized bouncer I bought to steal measurements from – all detached from the rest of it which frankly isn’t as interesting. And below is the pattern I made by carefully scaling it up by 2.5 times the size to make it adult sized.

Pattern

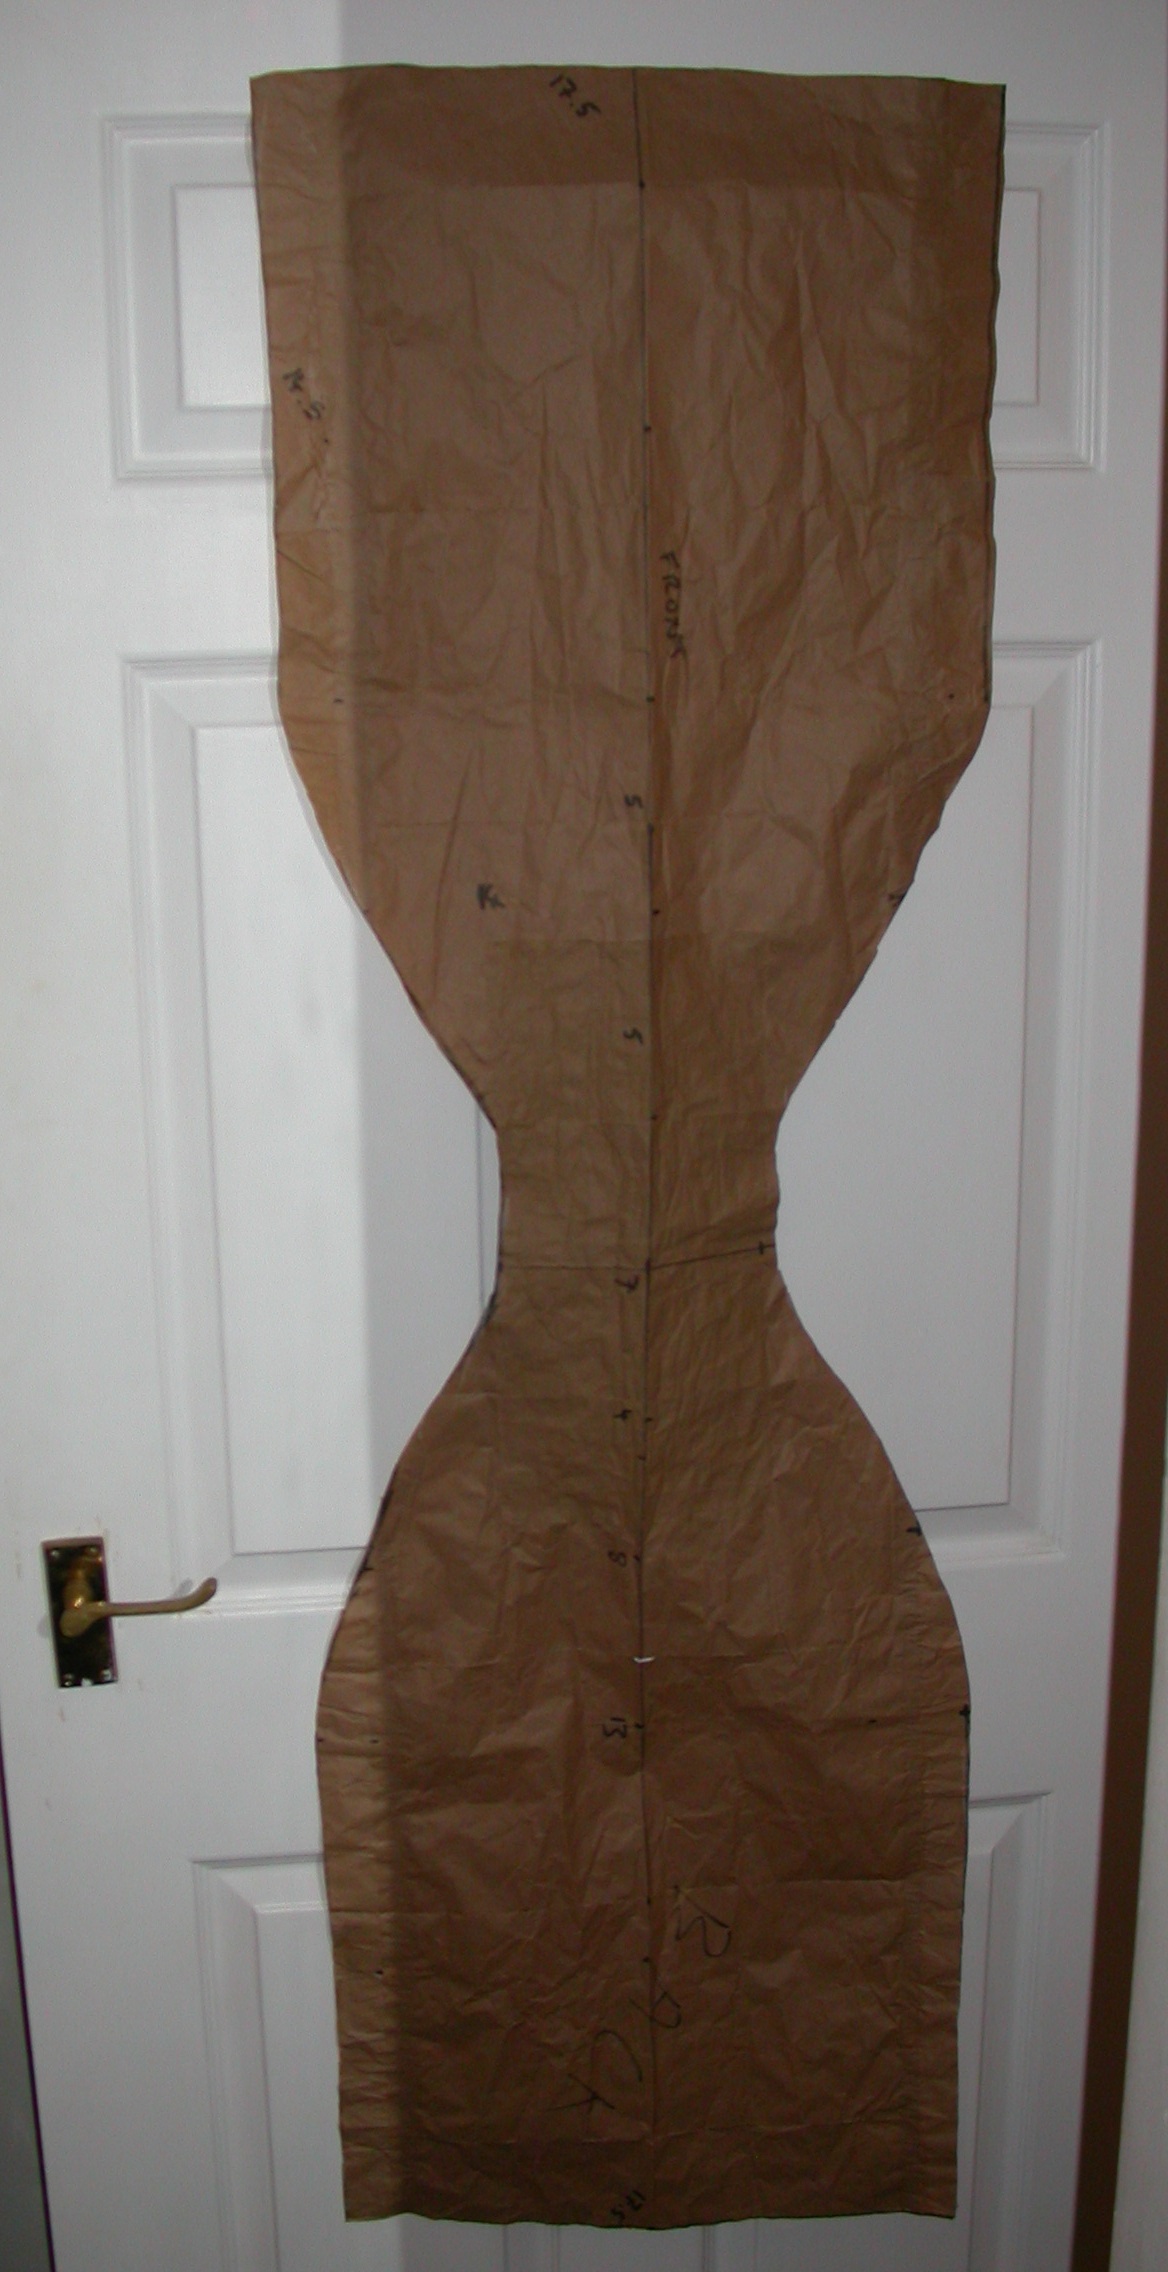
I’ve now carefully transferred the pattern to a section of my material – I have plenty of spare should I need to treat this one as a prototype. I’ve carefully pinned it ready to sew up with another layer and get the core of the harness built. More photos soon when I get started on that, should be this weekend.

The bouncer – opps, I haven’t been posting

OK, a quick update, I keep meaning to give a fuller update and not getting to it.

I now have a whole pile of items for this project – I’ll get a photo up shortly.

I stumbled upon an actual baby bouncer in a charity shop so quickly grabbed it as a design template. From other things I have heard suggested scaling by a factor of 2.5 times – effectively measure the baby version in centimeters and use the same numbers but make yours in inches. Having stuck some large paper together I drew out a paper pattern and it seems to be the right size – like magic. Photos and details of the pattern will follow.

Having got a pattern, I’ve drawn up the outline on some fabric and then I need to get cutting and sewing – which has somehow fall to the side somewhat.

More info, photos and details soon, I promise.

Another bouncer

Today I bring you not news of my own bouncer but photos and details of another bouncer, many thanks to Baby Robin. It’s always interesting you see details of other similar projects, theres often a lot to learn. It pays to avoid making the same mistakes, then you’re free to make different ones. Now on to the detail.

4

The harness was custom made by No Escape. The main straps run from the top back through the crotch-area to the front. Since they must bear all the weight (including the bouncing), it uses wide canvas belts like used in straight jackets.

The belts on the side and over the shoulders do not bear any weight, so for easy access and adjustability can be opened.

3

Since the shoulder straps are adjustable and thus can not bear the weight (and to maximise height for the bouncing effect) the bungee cord (4 x 10mm on each side) are fitted to the D-rings directly onto the harness. The bungee cord is the same used for trampolines and can be ordered by meter online.

2

Initially the design had a spreader bar, but this caused a problem with the total height, so this was then changed to double suspension with the bungee cord going directly from the harness to the frame. As this means the bouncing happens in the opening between the top bars this gives much more height for bouncing in.

1

The stand is constructed from 3,25mm thick round, galvanised steal tubes (42.4mm diameter) with tubing clamps. Total height is 230cm, 70 cm deep and 150cm wide. It is calculated to hold 500KG, since bouncing can have greater force than just the weight – up to triple according to Robin.

Robin also reports that since all the weight is held via the two crotch-straps in the harness, it can become somewhat uncomfortable for men when bouncing for an extended period (longer than 10 minutes). Just hanging is apparently no problem. Robin has no solution yet, he also notes climbing harness have the same issues – something I can confirm! I’ll be thinking about padding and spreading the load in this area to minimise this in my design. Another option is to relieve some of this pressure by forcing other areas to provide some support – under the arms is the next obvious place, although I’m sure this could also be uncomfortable after some time.

Robin’s solution to height is very practical, I’d decided to ignore this completely as I was going for closeness to the original baby design as possible. This was possible due to having a venue in mind with high enough support points – although this limits the possibilities for testing.

The bouncer – item update

A few days ago I randomly found a better option for one of my component parts.

I’m swapping out the idea of using a cargo sling for a rock climbing nylon webbing sling. They’re rated at higher loads and are designed for holding people up after all.

Source for them is Amazon. I’ve gone for one at 30cm and one at 60cm – obviously the size needs to be right for what you’re attaching to. Hopefully I’ll get blue ones to match the rest of the bouncer, sadly don’t get to choose in this case.

‘The bouncer’ – Gathering Materials

Having got an idea of the design we’d like, lets get looking at what we’re making it from! We don’t need a full list just yet, there’s always room for changes as we proceed but we might discover something to save us some time!

  • On the ‘making installation really easy’ front, for the London Playground Party I’m proposing to use a cargo lifting sling – webbing to spread the load, a 1 tonne rating should hold the weight! Just 1m will be long enough – if anything, too long!
    Current source: Amazon
  • Again on the ‘quick setup’ issue, I’ve used carabiners lots – easy, quick, strong, safe. In the UK I’ve found some at a fair price – and I’m assured they will be strong enough as it says ‘EN 362’ – I looked up the specification on this, it’s for fall prevention systems, well in excess of our needs. Current source: Screwfix and Screwfix depending on style and preference for steel or aluminium.
  • Rope – there needs to be an adjustable section and rope can make this really easy. I have a background in sailing, so I will probably head towards Force4 chandlery and look to grab something in a Dyneema – like this in 6mm diameter. I may well also go to them for the bungee cord – I’m considering the best way to test how bouncy it is and how to make a reasonable estimate on how much is needed!
  • Spreader bar – this I’ve no idea on yet! It really needs a decision if it should be wood or metal. Either is probably getting sourced from a local DIY store.
  • Webbing straps – possibly going back to Force4 for this as well, they sell 50mm wide webbing – as ‘toe strap webbing‘. I admit the range of colours is limited – I think I’ll go for working with the blue. However, on the upside we can be sure it’ll be strong enough as its being sold for use as a safety feature for dingy sailors – so the breaking strain is listed as 3200kg, even allowing a safety factor of 8 that’s more than strong enough for this.
  • Fabric for the ‘seat’ – another I’ve got no certain plans on. The inside isn’t too important, I think I’m going for a blue theme, however I’m struggling with the outside. I want to make it more fun, possible a Thomas the tank engine theme – needs fabric with large prints on, this is where I hate shopping online as it’s so hard to get a sense of scale.

I think that covers most of the major elements. Now, in many ways the most complex bit is the seat – it’ll need most ‘assembly’ as it’ll need each element stitching together. On top of that it’s probably going to need the most ‘design’ – it needs to combine an inside fabric, padding, straps, outer layer, buckles to keep the little in safely. Since this is all going to take time, that’s what we’ll be doing next.

Note:
‘Adult sized baby door bouncer’ doesn’t quite roll off the tongue – and no doors (or doorways) are likely to be involved in this ones use – so I might just refer to this as ‘The bouncer’ or ‘Project 1’ from now on.

‘Door’ bouncer – design thoughts

Now, although I don’t want to do a fancy ‘design brief’ and make this all formal, it’s always good to get the basic requirements and thoughts down before you start work.

Now, obviously a diagram is helpful – on some projects it’s all I use. Often just a sketch with some notes scribbled on. (As you can see from the artistic master piece below!)

 Diagram

Now, some thoughts on the requirements. For this project there’s quite a few of these, it’s not easy to draw this stuff on the diagram!

  • Height adjustable: having seen the problems of finding the right place to suspend one from, it really needs to be flexible and able to work with whatever’s available.
  • Easily to put up: it’s not going to get used much if it takes ages to put up, especially given the height requirement it may not be up for long.
  • Strong: I need to be able to put my faith into it – not only for me, but it’s more than likely others will want a go. Anything that can have a load rating on it should have and provide a suitable safety margin on the breaking load.

Project 1: ‘Door’ Bouncer

Basic concept is a bouncer, as shown below, but sized for adults.

Baby Bouncer

Obviously, there’s a slight issue with a 6 foot baby having any sort of decent amount of bounce in a standard doorway. Ignoring this small detail, the doorway probably would break on me!

Fortunately, at the London Playground Party there’s a nicely padded giant climbing frame – just about ideal to hang such a device from. This also allows me to expand past the width of a standard doorway, which is probably just as well.

Just to prove this isn’t a new idea, here’s a few select images from the around the net. If you know of more images of adult bouncers please let me know. Obviously, child sized ones aren’t as interesting!

1736